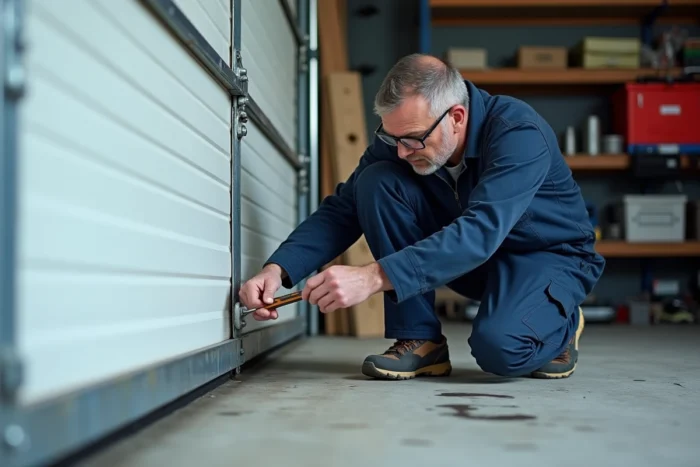
The sectional door descends, the seal touches the ground, but a draft of air still passes underneath. Or it stops three centimeters too high, allowing dust and rodents to enter the garage. This type of inconvenience almost always stems from a misaligned limit setting on the Hörmann motorization.
Before adjusting screws or programming buttons, it’s more efficient to perform a proper diagnosis. The rest is a manipulation that takes a few minutes once you know where to press.
Reset the Hörmann motorization before any limit setting adjustments
Most online guides skip this step, and it’s often the reason why a freshly made adjustment doesn’t hold. On recent Hörmann motorizations (Supramatic, ProMatic, EcoStar), resetting the automation before reprogramming the limit settings prevents the motor from retaining inconsistent positions in memory.
The procedure documented by installers: press and hold the programming button until the indicator light on the motor unit blinks. This blinking confirms that the previous open and close positions are erased. You start with a clean slate.
This reset is particularly useful after a torsion spring change, a panel replacement, or simply when the door has been subjected to a shock (vehicle, object stored too close). Without this reset, the new limit positions may not be correctly memorized, and the door will continue its erratic behavior. You can then adjust the limit on a Hörmann door by following the programming sequence specific to each motorization model.
Hörmann error codes: check the indicator before adjusting the limit settings
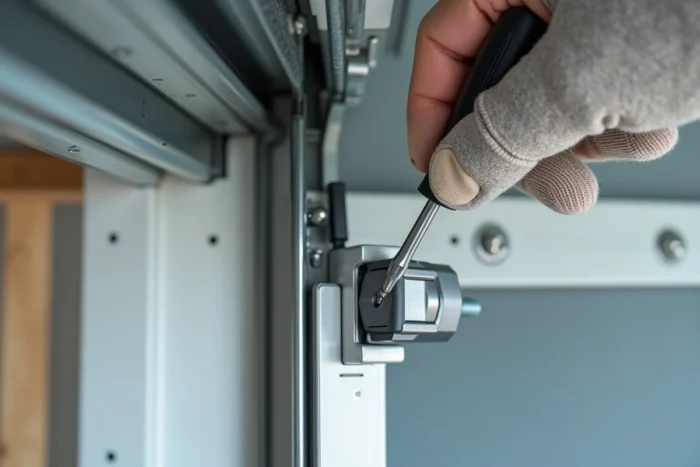
A practical reflex that saves time: check the error code on the display or LED of the motor before changing anything. On Hörmann motorizations, a specific blinking or displayed code may indicate that the problem does not stem from the limit setting itself, but from a dirty sensor, a detected obstacle, or faulty wiring.
Intervening on the stop positions while the motor signals a sensor error is like treating the symptom without correcting the cause. The door will go out of alignment again as soon as the next cycle.
What the error code can reveal
- Dirty photoelectric cells or a misaligned guide rail, which makes the motor believe that an obstacle is blocking the travel
- A wiring issue between the motor and the control box, common after a power surge or storm
- An inappropriate spring tension that forces the motor to compensate, triggering a safety feature before the door reaches its low position
If the indicator blinks unusually, note the sequence (number of blinks, color) and compare it with the chart in the motorization manual. Each Hörmann series (EcoStar, ProMatic, SupraMatic) uses its own coding.
Limit setting adjustment for Hörmann sectional doors: the concrete procedure
Once the reset is done and the absence of error codes is confirmed, we move on to the actual adjustment. The logic is the same across the three ranges of Hörmann motorization, with minor variations depending on the series.
Bottom close position
This is the most common adjustment. We aim for the bottom seal of the door to compress slightly against the ground without the motor straining. The procedure is as follows:
Switch to programming mode using the dedicated button on the motor unit. Manually lower the door (or with a short pulse) to the desired position. The seal should be compressed by a few millimeters, enough to block air and infiltration, but not so much that it deforms the rubber.
Confirm the position by pressing the memory button. The indicator will turn solid or emit a sound signal depending on the model.
Top open position
We proceed in the same way for the top point. The door should stop when the last panel is parallel to the ceiling, without hitting the motor unit. One centimeter of clearance between the top panel and the motor protects the drive mechanism in the long term.
If the door rises too high, the belt or chain experiences excessive tension with each cycle. Feedback on this point varies depending on the thickness of the panels and the ceiling height, but maintaining this clearance is a good practice.
Persistent problems after Hörmann limit setting adjustment
The adjustment is made, the door stops at the correct positions, but after a few days the problem returns. Two causes frequently arise in the field.
Worn torsion spring
A spring that loses tension forces the motor to exert more effort when going up and to hold back more when going down. The safety system may then recalculate the stop positions or trigger a premature cut-off. Checking the spring tension before redoing a limit setting adjustment prevents going in circles.
This can be easily detected: unplug the motor and operate the door manually. If it falls by itself or is abnormally heavy to lift, the spring is at fault, not the limit setting.
Dirty or warped rail
Dirty or slightly warped side guide rails create variable resistance during travel. The motor interprets this resistance as an obstacle and alters its behavior. Cleaning the rails and checking their alignment with a level is often enough to stabilize the adjustment.
On a Hörmann sectional door, the limit setting adjustment is not an isolated operation. It is the last link in a chain that begins with the mechanical condition of the door itself. A seal that does not press down, a door that stops too early or too late: the motorization merely executes what it is instructed to do. When the mechanics are sound and the reset is done correctly, the positions hold over time.