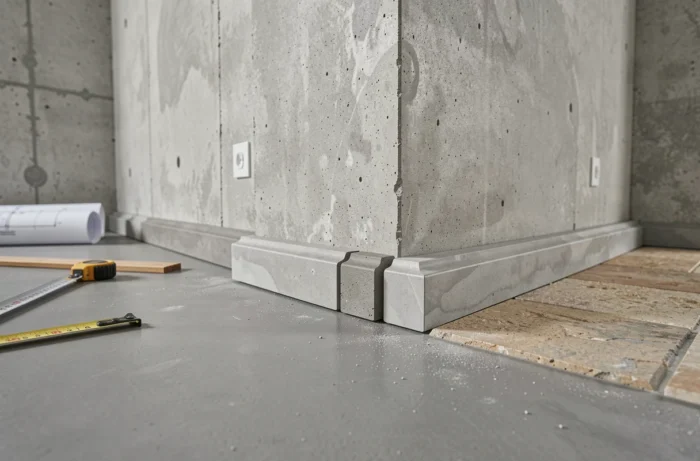
A concrete skirting board is not sized like a wooden or PVC skirting board. The thickness and width (visible height) depend on a technical stacking that varies according to the nature of the support, the presence or absence of a damp area, and the type of finish chosen. Here we detail the selection criteria that determine the durability and visual appearance of the skirting board.
Technical stacking under the concrete skirting board: what determines the actual thickness
The thickness of a concrete skirting board is not just the layer of concrete itself. It corresponds to the sum of several layers: bonding primer, base layer, concrete finish layer, and then varnish or protective wax. On a standard plastered wall, the total stacking rarely exceeds a few millimeters. On a tiled or uneven support, a leveling compound or preparation coating must be added, which thickens the system.
We recommend reasoning in terms of total system thickness rather than just the thickness of the concrete. An applicator who announces a very thin layer of concrete often forgets to mention the primer and varnish, which add material and alter the flush with the floor.
To choose the right width and thickness of concrete skirting boards, you must first measure the thickness of the flooring. The skirting board should visually continue with the floor without creating a perceptible step to the touch or an unsightly offset at the base of the wall.
Height of concrete skirting board: adapting the visible width to the room
The visible height of the skirting board (what manufacturers of traditional skirting boards call “width”) is most often between 6 and 10 cm in concrete. This is not purely an aesthetic choice. The height must cover the peripheral expansion joint left between the flooring and the wall, which generally measures between 5 and 8 mm.
In a dry room with standard ceiling height, a skirting board of 6 to 7 cm is sufficient. For spaces with high ceilings, increasing to 8 or 10 cm restores visual proportions and avoids the effect of a too discreet “line” at the bottom of the wall.

Damp area: the SIA 271/1 standard changes the game
In the bathroom, the question of height takes on an additional technical dimension. The Swiss standard SIA 271/1, in effect since May 2025, requires that the waterproofing of the floor rises at least 5 cm at the perimeter at the base of the wall. A flexible mineral waterproofing coating must reach at least 2 mm when dry, and membranes must be at least 0.5 mm in nominal thickness.
The concrete skirting board must therefore completely cover this waterproofing rise without perforating or compressing it. We observe that a skirting board height of less than 7 cm in a damp area makes covering the waterproofing strip too tight, especially if the floor has slight irregularities. Planning for 8 to 10 cm of height in the bathroom leaves a comfortable margin to absorb installation tolerances.
Thickness of the concrete skirting board according to the wall support
The wall support directly affects the final thickness. On a standard plasterboard wall (BA13), the bonding primer and the two layers of concrete produce a fine and regular stacking. On a plastered concrete block wall or plasterboard, the roughness of the support may require a leveling pass that increases the thickness.
Three common situations:
- Smooth plastered wall (sprayed plaster or BA13): the total thickness of the skirting board remains minimal, comparable to a thick paint. The concrete is applied directly after the primer.
- Existing tiled wall: the tiling creates an additional thickness. If the tiling is retained as a support, the concrete skirting board will come in an additional thickness compared to the bare wall above, creating a slight visible offset. It is better to remove the tiling on the skirting strip or coat the entire height of the wall.
- Wall in a damp area with a waterproofing membrane: the membrane adds an intermediate layer. The cumulative thickness exceeds that of a standard PVC skirting board, which requires checking that door frames, vanity units, and shower trays do not collide with the finished skirting board.
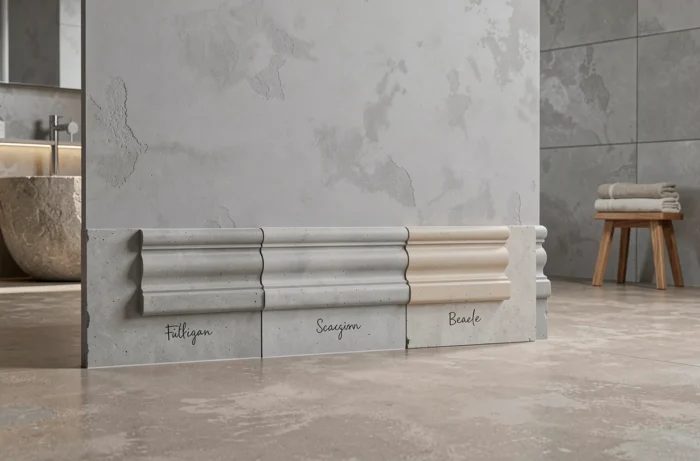
Aesthetic choice of the concrete skirting board: groove, right angle, or bevel
The profile of the skirting board influences the perception of thickness. A groove skirting board (concave rounded at the top) better masks the imperfections of the wall’s flatness and facilitates cleaning. However, it requires additional skill in application, as the concrete must be worked into the curve before it sets.
The right angle profile, the most common, produces a clean line between the wall and the skirting board. It highlights the slightest deviation in flatness. A perfectly straight wall is a prerequisite for this type of finish.
The bevel (chamfer at the top) constitutes a compromise: it softens the junction without requiring complex shaping. It also reduces the risk of chipping on the upper edge, a mechanical weak point of any concrete skirting board subjected to impacts from vacuum cleaners or furniture.
Common sizing errors on concrete skirting boards
Undersizing the height for aesthetic reasons exposes the expansion joint and, in a damp area, leaves the waterproofing rise without mechanical protection. Conversely, oversizing the thickness creates conflicts with door frames, furniture skirting, and thresholds.
- Not accounting for the thickness of the finishing varnish: depending on the number of layers (two to three in high-traffic areas), the varnish adds a measurable thickness that alters the flush.
- Installing the skirting board before the concrete has fully dried: the shrinkage of the screed or concrete on the floor can alter the dimension of the peripheral joint and leave a gap under the skirting board.
- Forgetting thermal expansion in underfloor heating: the peripheral joint must remain free under the skirting board. Gluing the concrete skirting board to the floor in an attempt to do well removes this buffer and causes cracking.
The sizing of a concrete skirting board is played out in a few millimeters, but these millimeters determine the durability of the entire covering. Taking the time to measure the actual stacking, check the dimensions around the frames, and respect the waterproofing rises in damp areas avoids costly corrections after installation.